Installation de Windows Terminal et oh-my-posh
February 6, 2021•437 words
Installation de Windows Terminal
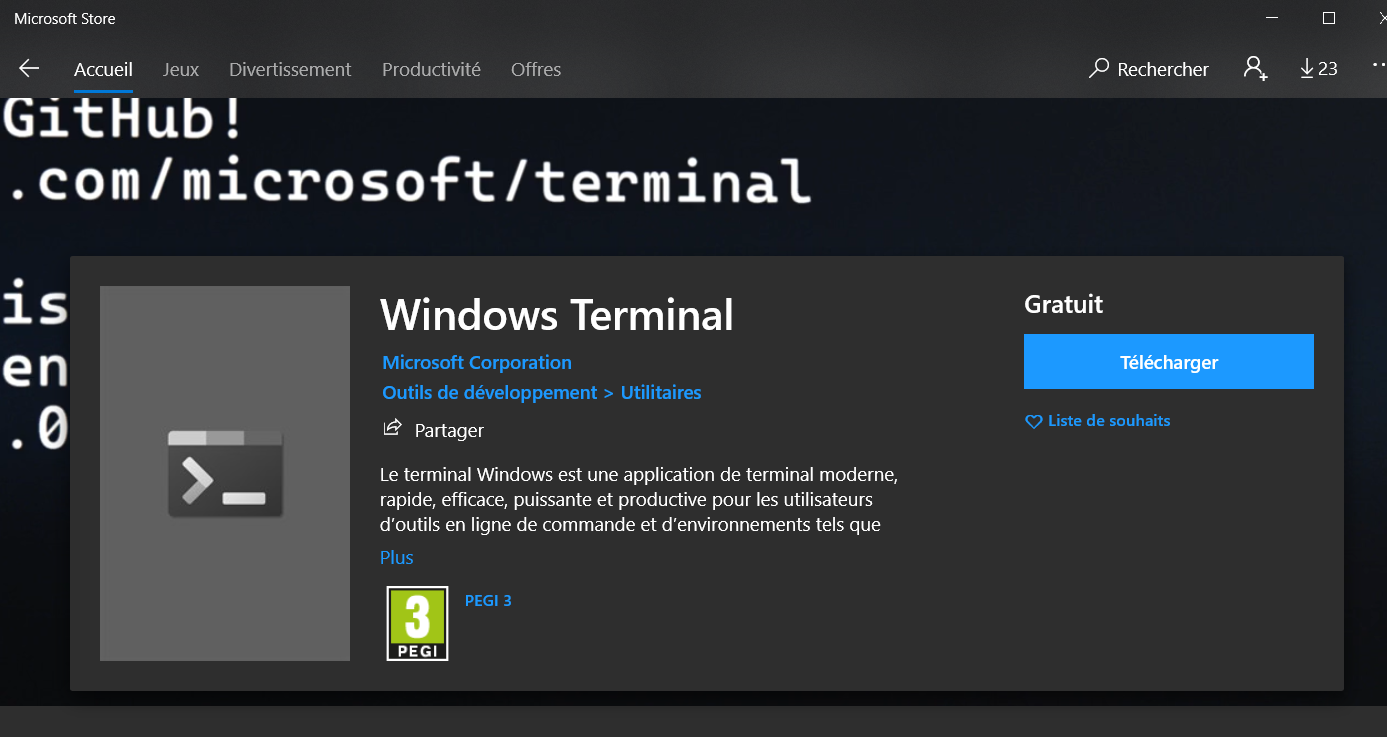
Via le Windows Store. Méthode la plus simple.
Installation des polices de caractères
Caskaydia Cove Nerd Font : https://github.com/ryanoasis/nerd-fonts/releases/download/v2.1.0/CascadiaCode.zip
UbuntuMono Nerd Font : https://github.com/ryanoasis/nerd-fonts/releases/download/v2.1.0/UbuntuMono.zip
Décompressez les fichiers zip, puis clic-droit sur les fichiers des polices et installer
Installation de git et Oh My Posh
Installation de Chocolatey si ce n'est pas déjà effectué :
Set-ExecutionPolicy Bypass -Scope Process -Force; [System.Net.ServicePointManager]::SecurityProtocol = [System.Net.ServicePointManager]::SecurityProtocol -bor 3072; iex ((New-Object System.Net.WebClient).DownloadString('https://chocolatey.org/install.ps1'))
Installation de git via Chocolatey :
cinst -y git
Installation de scoop :
Set-ExecutionPolicy RemoteSigned -scope CurrentUser
iwr -useb get.scoop.sh | iex
Installation de oh-my-posh via scoop :
scoop install https://github.com/JanDeDobbeleer/oh-my-posh3/releases/latest/download/oh-my-posh.json
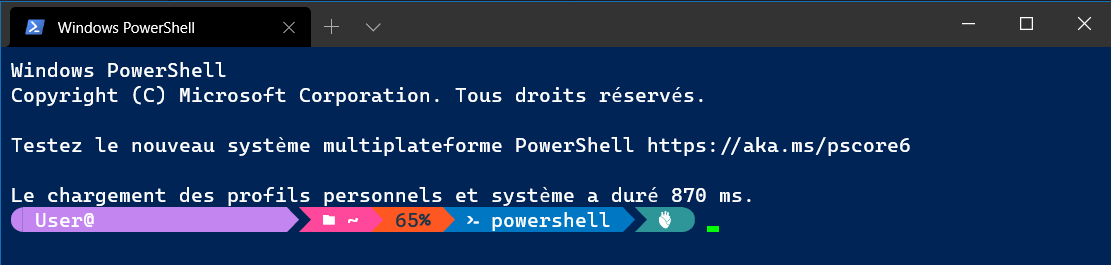
Configuration
Ouvrez Windows Terminal, puis allez dans Paramètres afin d'éditer le fichier de configuration.
Modifier le premier élément de la list (powershell) pour ressembler à ceci :
{
    // Make changes here to the powershell.exe profile.
    "guid": "{90d61bac-debf-1234-5678-00abcdef1234}",
    "fontFace" : "CaskaydiaCove NF",
    "cursorColor" : "#03ff03",
    "historySize": 1000000,
    "cursorShape": "vintage",
    "name": "Windows PowerShell",
    "commandline": "powershell.exe",
    "hidden": false,
    "colorScheme" : "PowerShellTom"
},
Et ajouter un terminal Multipass si multipass est installé et avec une VM dont le nom sera "lab" (notez que vous devez mettre un guid différent des autres déjà présents dans le fichier de paramètres) :
,
{
    "background" : "#350425",
    "colorScheme": "Ubuntu",
    "commandline" : "multipass shell lab",
    "cursorShape" : "filledBox",
    "fontFace" : "Ubuntu Mono",
    "guid" : "{aaaa9e6d-1eaa-4cf9-e61b-82abba184444}",
    "historySize" : 50000,
    "icon" : "C:/Program Files/Multipass/bin/multipass_wt.ico",
    "name" : "Multipass"
}
Puis ajouter les couleurs :
 "schemes": [{
    // Color Scheme: PowerShellTom
    "background" : "#012456",
    "black" : "#000000",
    "blue" : "#0000ff",
    "brightBlack" : "#AAAAAA",
    "brightBlue" : "#44B4CC",
    "brightCyan" : "#19D1D8",
    "brightGreen" : "#81EC0D",
    "brightPurple" : "#FF00FF",
    "brightRed" : "#FF0000",
    "brightWhite" : "#E5E5E5",
    "brightYellow" : "#FFD93D",
    "cyan" : "#19D1D8",
    "foreground" : "#FFFFFF",
    "green" : "#00ff00",
    "name" : "PowerShellTom",
    "purple" : "#9933CC",
    "red" : "#FF6600",
    "white" : "#F5F5F5",
    "yellow" : "#FFD93D"
},{
    "name": "OneDark",
    "black": "#1e2127",
    "red": "#e06c75",
    "green": "#98c379",
    "yellow": "#d19a66",
    "blue": "#61afef",
    "purple": "#c678dd",
    "cyan": "#56b6c2",
    "white": "#abb2bf",
    "brightBlack": "#5c6370",
    "brightRed": "#e06c75",
    "brightGreen": "#98c379",
    "brightYellow": "#d19a66",
    "brightBlue": "#61afef",
    "brightPurple": "#c678dd",
    "brightCyan": "#56b6c2",
    "brightWhite": "#ffffff",
    "background": "#1e2127",
    "foreground": "#abb2bf",
    "cursorColor": "#aaaaaa"
    },{
    // Color Scheme: Ubuntu
    "background":  "#2C001E",
    "black":  "#3f3f00",
    "blue":  "#268BD2",
    "brightBlack":  "#002B36",
    "brightBlue":  "#839496",
    "brightCyan":  "#93A1A1",
    "brightGreen":  "#586E75",
    "brightPurple":  "#6C71C4",
    "brightRed":  "#CB4B16",
    "brightWhite":  "#FDF6E3",
    "brightYellow":  "#657B83",
    "cyan":  "#2AA198",
    "foreground":  "#EEEEEC",
    "green":  "#729FCF",
    "name":  "Ubuntu",
    "purple":  "#D33682",
    "red":  "#16C60C",
    "white":  "#EEE8D5",
    "yellow":  "#B58900"
}],
Création du fichier profil
Créez un fichier nommé Microsoft.PowerShellprofile.ps1 dans C:\Users\nomutilisateur\Documents\WindowsPowerShell afin d'y insérer cette ligne :
Invoke-Expression (oh-my-posh --init --shell pwsh --config "$(scoop prefix oh-my-posh)/themes/jandedobbeleer.omp.json")
Références:
https://ohmyposh.dev/docs/installation/
https://www.nerdfonts.com/font-downloads
https://chocolatey.org/packages
https://scoop.sh/